12/31/10

Cheers to the New Year


I'm getting ready to bake and cook and clean with the family so we can celebrate the holiday in comfort and style. I guess I better start thinking of those new year resolutions, too. 

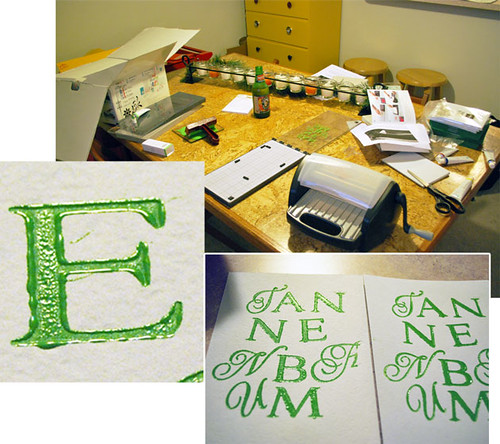
First, be more creative. I started Nifty Table to share my crafty adventures, but the blog is also supposed to prod me into doing things that are post-worthy. For the most part, I'd say it has been successful.There are several different things that I would have thought about doing but never done if it weren't for a forum to showcase the projects. But, I've also gone months without a post dedicated to some crafty endeavor. So, no more dry spells. (P.S. this post counts as a crafty project because I designed the graphic in Illustrator).

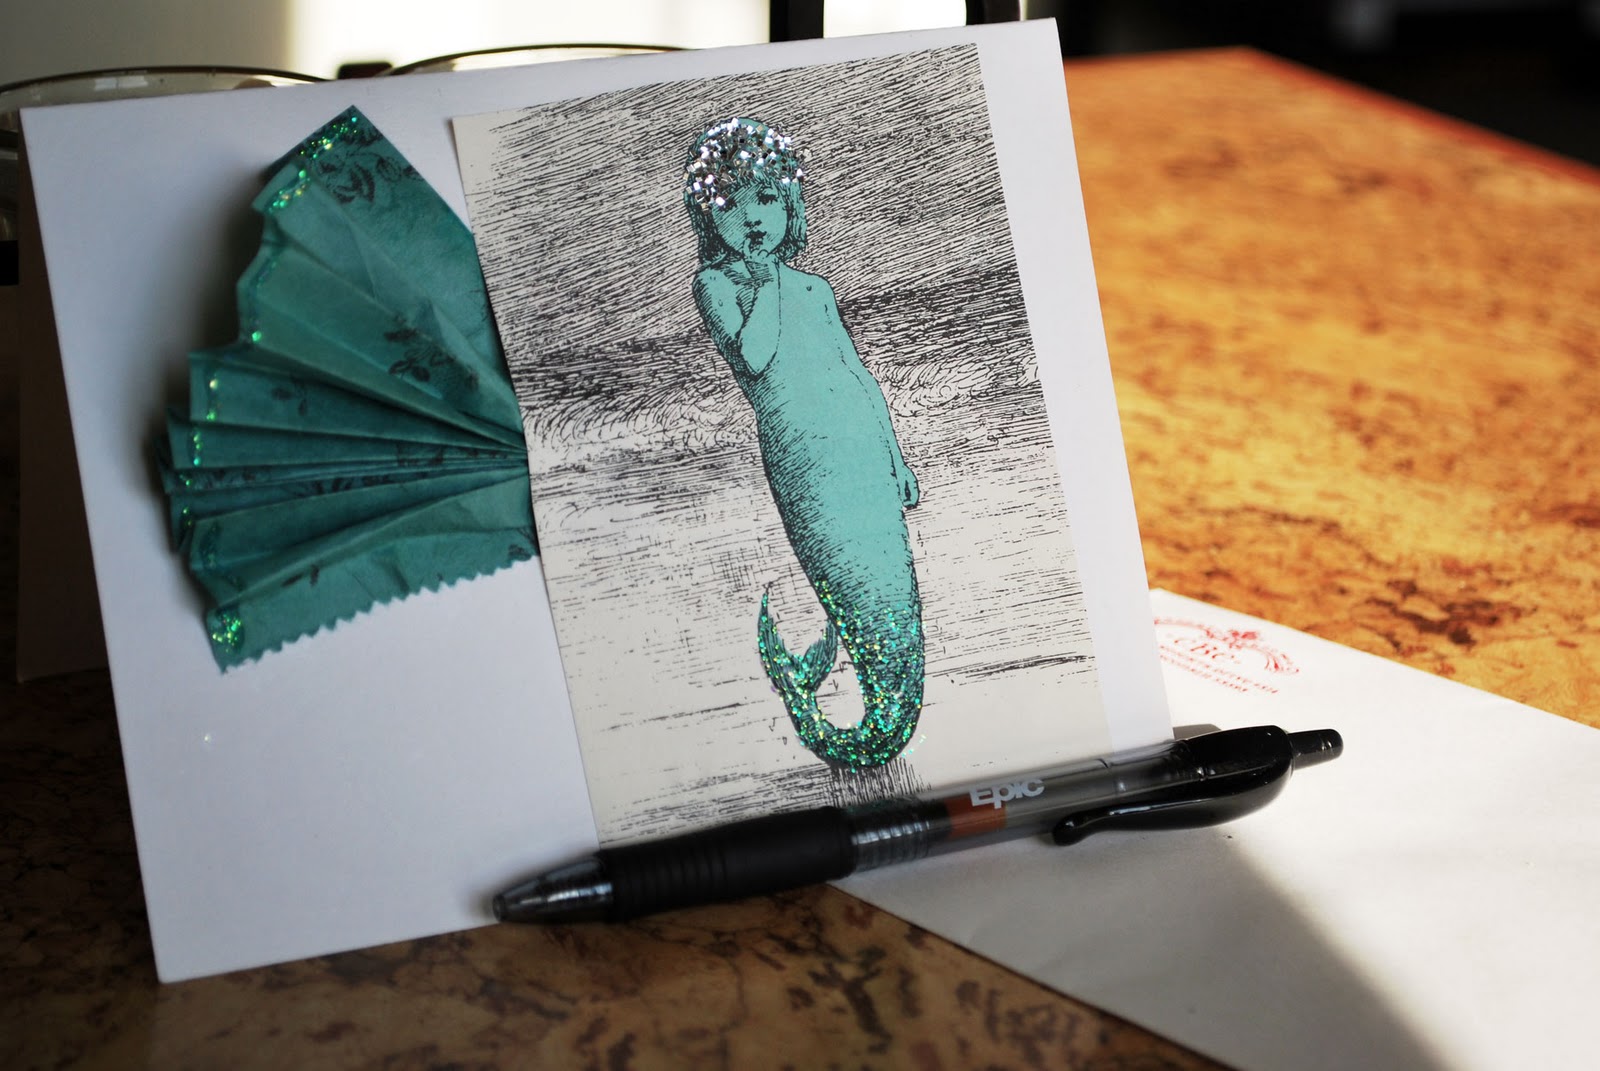
Second, talk to friends more. It's always embarrassing to start off a phone call with friends with "I'm sorry I haven't called you more." Living away from most of my family and many of my friends, I don't get the chance to run into people and talk with them. Sure, Facebook helps me keep up on the news, but it isn't the same as a nice talk on the phone with someone to catch up on the latest hopes and dreams. To make this one work, I also need to try to be a better listener. Oh, and I should send more cards in the mail for occasions other than birthdays and Christmas (see resolution #1).

Finally, I need to take better care of myself. This is a new twist on my regular 'lose weight' resolution. I want to want to go to the gym. I want to want to have a salad rather than a hamburger and french fries or a big bowl of pasta when I go out to eat. I want to cook more with a wider variety of locally-grown vegetables. I'm going to try to make living good a habit rather than something I do to lose weight.

Now that my resolutions are public, I guess that I will have to stick to them. One thing that will help is posting these resolutions where I can see them. I think that means some kind of sign or painting. Hey, that keeps me on track for resolution #1 already!

12/21/10

Christmas trees

I don't think that I've ever personally had a traditional Christmas tree. Every year, we pull the tree out of the attic and decorate with BLady's collection of Hallmark ball ornaments. Well, many of them are Hallmark, but that is a separate post. BLady had an '80s bottlebrush-looking tree until just a few years ago. I like the new tree, and the bottlebrush tree will always bring a bit of nostalgia.

But for me, I've done the non-traditional thing. Way back when I lived in the dorm, I made a Christmas tree out of construction paper and taped it to the wall. When I first moved to WI, I put ornaments on a piece of evergreen garland that I draped along the front of the counter. Then, I came up with my current tree.


That's right. It's branches. I drove down a country lane and picked branches from the brush along side the road. Luckily, the cows were the only ones watching. The vase came from Anthropologie. I ended up liking it so much that it lives out the rest of the year (minus the branches). I've stored the branches in my storage unit, although I may just toss them this year and get fresh for next Christmas. Or, I could do as I've meant to do since the beginning and spray paint the branches. I like either white or a bronze color. Any ideas?

Or, I could go down a different route next year. Here are some non-traditional Christmas trees that I came across this season. The post-it note tree would be great on my office door, although the division assistant may get made about the waste of post-it notes (which I would supply myself).


More Christmas cards

 
Megs asked me to put together their Christmas card again this year. Megs' man likes to send cards with pictures. This posed a problem. That would've been an expensive photo session if I'd've come down from WI. She thought about asking family when everyone (but me) was home for Thanksgiving, but that didn't happen.

So, they went and took pictures of each other. That's right, It looks like Megs and her man are standing next to each other. But, this was two separate photos. Megs did a great job of selecting a place that made it easy for me to blend the photos. By selecting a neutral background, I could easily overlay the pictures and blend away the differences. It looks even more like they are standing next to each other because of the line in the sidewalk that Megs is standing on.

Megs sent me these pictures late one Sunday. I told her that I wouldn't be able to get to the card before the following weekend because I would be traveling for work. But, I sat down to look at the pictures and to see what could be done. As I said, it was easy to combine the picture. Then, I started adding the additional holiday elements and sent it to Megs for her to tell me what she wanted me to do differently. This was the first time I think I've ever designed something for her that didn't need at least a little tweaking. Which made a liar out of me, since I said I couldn't finish until the next weekend.

I'm happy that Megs and her man liked the card, and I hope that everyone who got their's in the mail felt a little more holiday cheer for it.

12/19/10

Oh Tannenbaum

Christmasornament

Well, there you have it, start to finish on my Christmas ornaments for Freshly Blend's Fifth Annual Ornament Swap

Supplies:
balsa wood
acrylic paints
two sizes of silver jump rings
plastic ornaments from target
ribbon

First, I painted the balsa wood using almost every shade of green that I had. I tried to mix the paints to create a lot of interest in a small space. That way, when I next cut the pieces for the tree, the detail of the painting would still appear.

The hardest part was punching the holes in the balsa wood for the jump rings that articulated the tree. I used a pencil to poke the hole since the wood was so soft. But, several times, the jump ring tore the thin wood. If someone wanted to do a similar design, I would choose a little heavier balsa wood. I think there were a couple that were heavier but could still be cut with scissors.

Then, I added a larger jump ring at the top to attach the ornament and the ribbon. To package these up for the swap, I cut cardboard to sandwich the tree while the ornament was to the outside. I do hope that all the ornaments arrived intact.


2010ornamentCB

Christmas Cards

Tannenbaum

Last year for Christmas, BLady and Megs gave me the Epic Six Letterpress. It took a bit to get it back to WI, but it was here in time to do my Christmas cards. You'll see in the Ornament Swap post that Christmas Trees were my theme this year.

Thank you, to Boxcar Press for this review of the tool and tips on using it. There were a few other reviews and tip sheets that I reviewed before getting ink all over my fingers, so thanks to everyone who has shared information.

I got the Speedball Brayer from Hobby Lobby instead of attempting to use the supplied one, which did look dinky. As you can tell from the picture, though, I didn't follow all of the tips. I used the foam guides, but I took my scissors and snipped them in half after they were placed. 

The one thing that did take some time to learn was how to get the correct amount of ink. That E in the picture came from one of my first cards, when I had way,way,way too much ink. It took almost a week for some of those cards to dry! But, I got better and the last cards were pretty good.

I used a couple of sets of the Everyday letterpress letters. The design that incorporated two different styles of letters came about because, well, Tannenbaum has THREE Ns! Each set only came with one of each letter. So, instead of ending up with three sets of the same letters, I decided to invest in a script set. But, I am pleased with the design overall. 

The one lesson I learned the hard way was this - make sure you have the proper cleaners before you begin. I had to drive to Ace Hardware in a snowstorm to get mineral spirits to clean off everything.

Oh, in case you're wondering - the cards came from Paper Source as did the spruce envelopes. And, USPS also obliged by having evergreen stamps this year.

12/16/10

Christmas shopping

So, the fam has decided to do something different for Christmas gifts last year. Rather than giving a present to BLady, one to Megs, and one to each of the boys, I only have to shop for a gift to myself. Of course, the same goes for them.

There are only a few rules:
1)  It has to be something you wouldn't buy for yourself on a normal day
2)  You can't use it until after Christmas
3)  You have to wrap it up and put it under the tree to be opened on Christmas morning when we're all together

I actually completed my Christmas shopping back in December. But, as the rest of the family struggles to come up with what they want, I realized why it was so easy for me - I want a lot of stuff! If I didn't have my present all wrapped up, I would be going after these beauties.


Starting upper left: Mixed media artwork michelemaule@etsy * Diamond stud earrings Better late than never @ Etsy * Into Midnight Ring Anthropologie * Fortune Cookie Coin Purse Diana Eng * Jute pouch DrikaB @ Etsy * Texas Pillow Love California @ Etsy * Wire Drop Shelf Urban Outfitters *  Baghead Print Renegade Handmade * Inside voice letterpress poster Rollandtumblepress @ Etsy * Bear Plush Renegade Handmade * Knock Knock wood ring Renegade Handmade * M.E.Y.K. Artist Kits West Elm * Recipe Notebook Anthropologie * Bird lights Uncommon Goods * Paper+Craft Renegade Handmade * George the Terrier Urban Outfitters


Maybe this list will help you decide what to give Bob the mail man or Norma Lynn sitting in the office next to you. Or, if you're still looking for a present to give me.....

12/7/10

Paper Ornament from Holiday Craft Lounge


Last weekend, I went to Holiday Craft Lounge hosted by Anthology. Here is one of the neat things I got - a kit to make my own paper ornament. I don't think this is going to just be a Christmas decoration, but may hang out in this spot for quite a while.

Oh, I also got a package of paper, out of which I got the nice piece of paper on the birthday card in the last post. 

12/3/10